Working Out Epoxy Flooring Cost and Whether You Should DIY It

Choosing a flooring solution for your Brisbane home will usually come down to a balance of aesthetics, durability, and budget. If you’re looking at an epoxy flooring solution, then you’ll no doubt be interested in finding out what this will cost. So, let’s work through the factors to consider, whether to DIY it or call in the professionals. This guide will walk you through Brisbane epoxy flooring cost, including product and materials.
Factors to consider when working out the cost
Epoxy resin is one of the most affordable flooring solutions, considering its average lifespan. Keep in mind that epoxy flooring will last longer if you look after it properly through regular cleaning, etc.
When working out what it will cost of epoxy flooring, there’s a few factors to consider:
- The size of the space
- The expected foot traffic and equipment (and corresponding coating thickness needed)
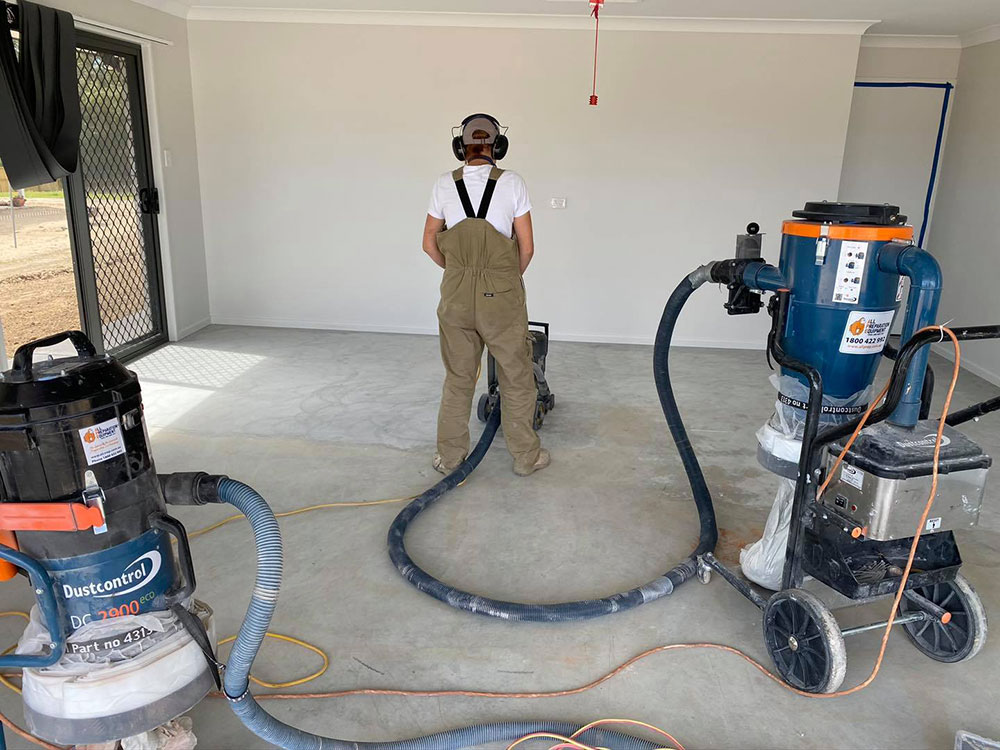
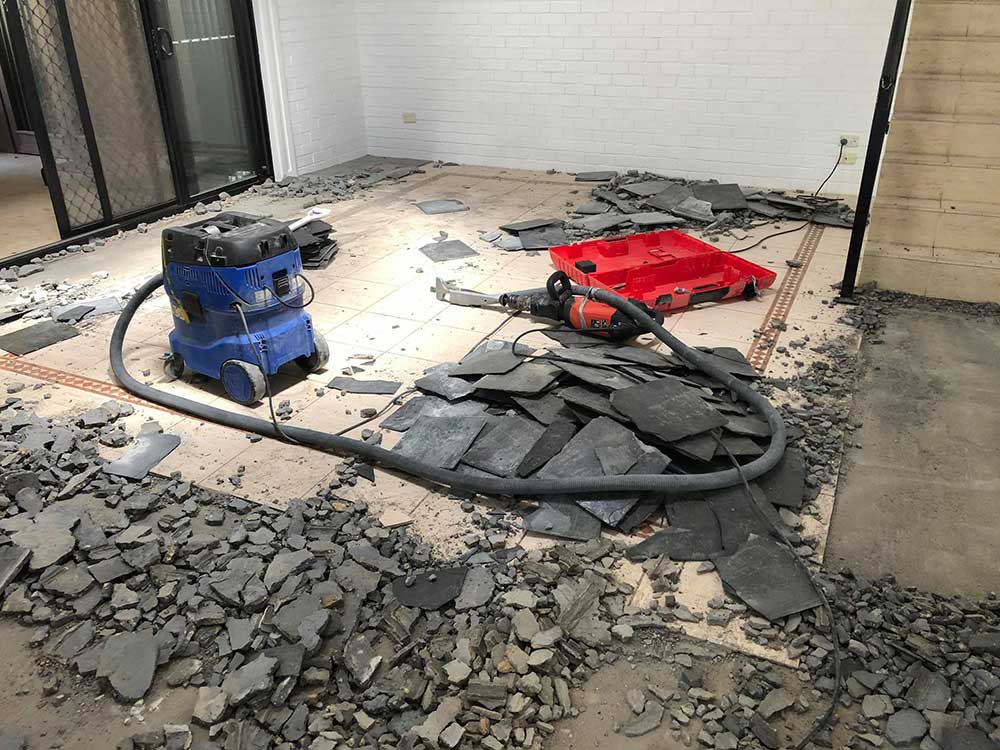
- The condition of the concrete substrate, and how much preparation and grinding it will need before coating
- The finish desired (as some epoxy finishes will cost more)
Each of these factors will influence the cost of your epoxy floor and need to be considered.
DIY vs Professional Epoxy Flooring
Generally speaking, a DIY epoxy floor looks like it will cost less than using a professional installer – but if you dig deeper, you may find that in the long run, calling in the professionals will cost you less.
Should you DIY it?
Doing your epoxy flooring yourself is something that handymen and women often consider after they’ve sought a bit of help from Google or YouTube. It may look fun and seem to be an easy enough task but we assure you that it is not. To achieve an aesthetically pleasing appearance is simply one aspect of the job. While the final DIY work may look great at first, you have no idea how the epoxy will hold up in 3-, 6- or 12-months’ time. To achieve a functional and durable epoxy flooring finish, the right epoxy floor preparation is crucial. This means:
- Checking that the concrete is structurally sound
- Checking for abnormalities like efflorescence (and what it means if present) along with any excess moisture that may pose future issues — such as hydrostatic pressure
- Patching holes and cracks (and knowing what products and tools to patch with)
- Levelling it if it’s not completely even
- Using an acid etch or diamond cutter on it to produce the right “key”. Do keep in mind that if you use a diamond grinder to prepare the substrate, you will also need to choose the right diamonds. This is one of the areas where it can start to get complicated because not all concretes are created equal.
And that’s all before you even get started with epoxy.
What materials are needed to apply an epoxy floor?
A durable, properly coated floor can only be achieved when you fully understand the characteristics of epoxy, including which products and materials are best and which are risky to use. You should also make sure that the surrounding temperature and humidity levels are all suitable. All of this information is reflected in the manufacturer's TDS (Technical Data Sheet) and SDS (Safety Data Sheet) which, unfortunately, few non-professionals ever read.
Typically, the following materials and products are required for epoxy coating:
- Cleaning products for cleaning the concrete thoroughly, which may include a pressure cleaner
- Tools for concrete preparation – a diamond grinder, or, if you’re going with acid etching, you’ll need a hydrochloric acid and water mix, somewhere for the acid to wash away (usually in the garden or on the driveway), and a mild alkaline detergent for cleaning it with the pressure hose again afterwards
- Personal protective equipment, including gloves, overalls, a mask and proper ear protection
- Tape to mask up the walls and surfaces where you don’t want epoxy
- Brushes and rollers for application
- Your chosen epoxy product – here is where you need to do your research, as not all epoxies are created equal, and some contain hazardous solvents. If you go down the pathway of a solvent-borne (smelly) one then you will need a respirator, as solvents can make you ill, affect your skin, get into the household and irritate the neighbours.
You also need to be aware that solvents will evaporate. Hence, what you are putting onto the floor will evaporate, possibly between 40% & 60% of it. This is why applicators quote on a five-coat system.
- Any additives that you may need to achieve special finishes or effects
So, there are a few products and materials needed to get the job done.
Should I call in the professionals?
One aspect that is not on your side when coating, is time. Once epoxy is mixed, it starts ‘going off’ and you have a limited time to get your area coated. The time can be further limited by humid conditions, hotter conditions and colder conditions can impose other limitations on getting the coating done properly.
A few handy tips to help you with getting success with DIY include:
- Mixing in smaller measured amounts and once mixed, the product needs to be poured onto the floor. If not, the product can begin to go off in the bucket much faster than when poured onto the floor.
- Coat during the coolest part of the day. Depending on where you are located and the time of year, this may be from mid-afternoon. The reason for this is because the concrete will start to release heat. You don’t want to begin the coating process early in the morning because the ground will begin to heat up by the time you’re finished with the process.
Once again, depending on the time of year and region you’re in, along with the products you use, this can pose issues — such as the product going off too fast and losing the ability to bond to your substrate (concrete).
- Be organised – At Tough Floors, we do this every day so we have a system in place. As a first timer, you might be a little less organised. That is why it is so important to ensure that all of your tools are in place and are easily accessible.
You do not want to be coming on and off the floor too many times. Aside from how inefficient that would be, you also risk contaminating your concrete. Having at least two people will be helpful as there are a lot of roles — mixing, cutting, rolling and flaking.
Many DIY epoxy coaters will find that their finished floor won’t look as good or last as long as the ones coated by professionals. This is mainly due to inexperience, and not knowing which products and application methods will provide the best quality finish. Professional epoxy flooring installers know the ins and outs of the job, have access to tested and trusted epoxy resins from reputable suppliers (that will NOT supply to the public), and will get the job done much faster, more efficiently, and more effectively.
Additionally, if the floor hasn’t been prepared properly beforehand, the epoxy floor may crack, delaminate or deteriorate fairly quickly, depending on moisture levels and traffic.
Calculating the cost of an epoxy floor
To calculate the cost of epoxy flooring, there’s a bit of math involved. You can calculate it from:
- The thickness of the coating desired
- The dimensions of the area (length x width)
- What equipment and project consumables you have and what you may need to hire. Project consumables will include, rollers, roller frame, roller pole, brushes, rags, a cleaner (such as acetone, unless you throw everything out), gloves, masks and other safety equipment
- What products you intend to use; how much you need can be calculated off the manufacturer’s TDS that will advise preparation method and how thick the coating needs to be. You can then work out how many litres will be required
- Your labour and time (yes, a cost needs to be placed on your time and efforts)
- Travel time and cost to pick up what you require along with consultation time with your suppliers. Keep in mind that it is unlikely you will get ALL of your materials from one supplier
This will tell you how much epoxy is needed, and then it can be priced from there. We found a handy online calculator to give you a guide, but don’t forget that you need to account for floor preparation and additional features, including additives and specialised finishes (like flake, patterned, or metallic).
The industry specification is cost per square metre. However, you will also need to work out the cost of hiring a suitable diamond grinder.
While DIY epoxy flooring tutorials may seem simple enough online, in reality, getting the job done right — without any professional help — is extremely difficult. Unfortunately, if your DIY epoxy flooring is done incorrectly, you could expect to need to recoat your floor annually — which can end up costing more in the long-run.
Get a quote for your next epoxy flooring project
Here at Tough Floors, we have extensive experience creating practical, beautiful and durable epoxy flooring solutions for residential and commercial spaces in Brisbane. For friendly, prompt, and knowledgeable advice – and a free, no-surprises quote – get in touch today and find out why a professional epoxy floor is the best.


